Hi reader,
I was recently asked by one of my clients to give them an exact number of all the files that were in the Project Online environment. The reason behind it was that the organisation wants to use Microsoft Teams to store all project related files instead of the classic Project Sites.
This is of course music to my ears! I get to play around with Power BI and the client is moving towards a future where Teams is available to all their teammembers. You might remember my previous video in which I share how to connect Teams with Project Online.
In this article I’ll share with you the steps I took to create this report. Then, at the end of the article I’ll share the video on how to do it. And as a final offer, I’ll give you the template I created so that you can do it even faster yourselves. Sounds goud? Here we go!
Setting up the Power BI file
The first thing we need to do is get a grip on what we actually need. Project Online uses SharePoint technology, similar to teamsites. So we have document libraries that contain data. We’ll use “Invoke Custom Function” at a later stage to grab all data from all project sites. And finishing up we will have a great looking report that has the data you require to assess the size and type of documentation in all Project Sites.
Get the data from 1 site
A single Project Site with files in it would be best for this excersise. Open the Power BI Desktop client, and get data. Select the SharePoint Folder data source and use the link from your project site. This should look something like: Https://<your tenent>/PWA/<your project name>

Grab that link, put it in Power BI and change the data untill you have what you need.

For now it’s good enough to have the file extentions and the size of the files. We can remove all other columns. And make some final tweaks in the data (such as creating a Size by MB’s column by deviding the KB size by 1024. The following is the result of your hard labor:

Let’s get to the next level, using the Invoke Custom Function!
Use Invoke Custom Function in Power BI
Invoke Custom Function is something streight out of a magitians cabinet if you ask me. It allows us to use the query we just created, and replicate the steps on all other project sites in the site collection.
The trick is getting the URL from all those project sites and changing the previous query to a function.
For the first step: create a new query using the OData feed for Projects. Single out the project data you want and at least have the column “ProjectWorkspaceInternalUrl” at the end of the line. This is going to be our “Invoke reference”.
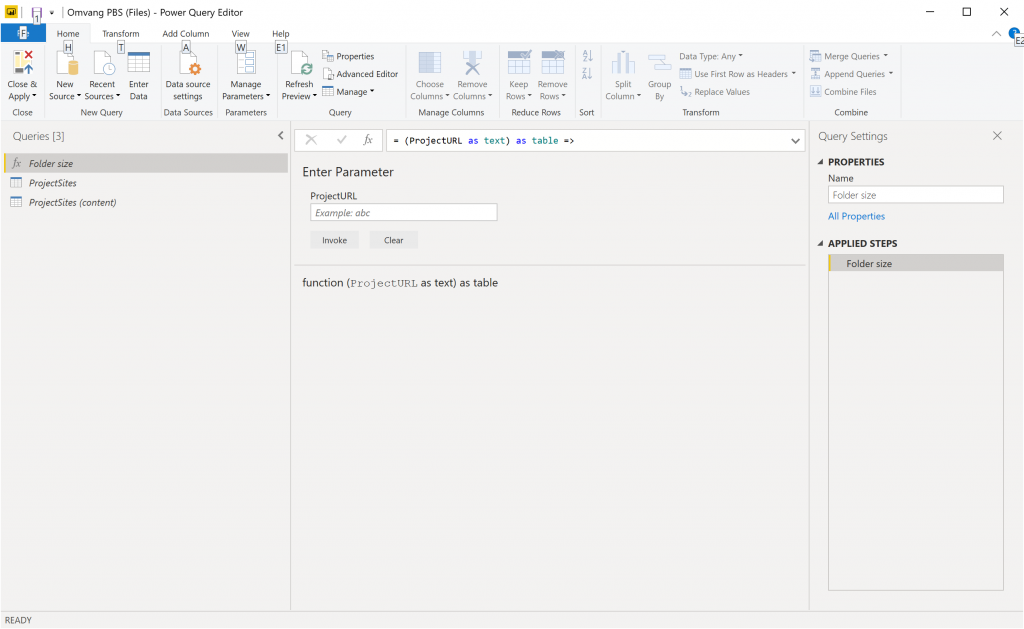
Then, navigate to the Project Site query and open up the advanced editor. Change the values at the beginning to look similar to this example:
(ProjectURL as text) as table =>
 let
  // You can keep the green lines as reference, and to test the solution if you are nog getting the right values as expected.
  // Obviously you should change Your test URL as well.
  //   Source = SharePoint.Files("Your test URL", [ApiVersion = 15]),
     Source = SharePoint.Files(ProjectURL, [ApiVersion = 15]),
The magic here is that we now have a parameter called ProjectURL, that we call inside the source section. And that we can show that based on a table. With this text the query changes to show you a single entry and a Invoke option.

But we are not going to activate it per site, we are using the Invoke Function!
Last step to get all the information: Navigate back to the Projects querry, select the column with the URLs and click on “Invoke Custom Function” button located in the Add Column tab. This opens up a small menu, fill it in as pictured below and click on ok:

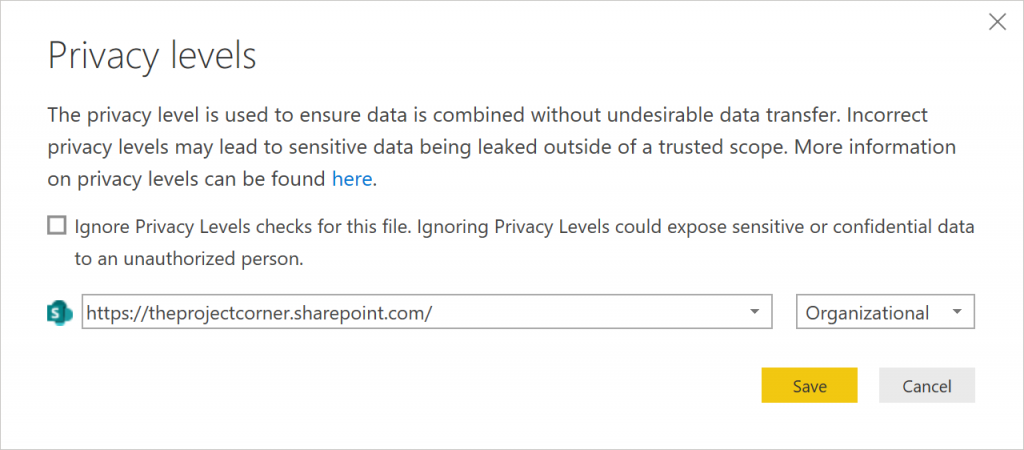
Now you might need to add some credentials here again, because we are going to open some project subsites.

If you encounter errors in the Invoke column this can be because there are actually no files to show.

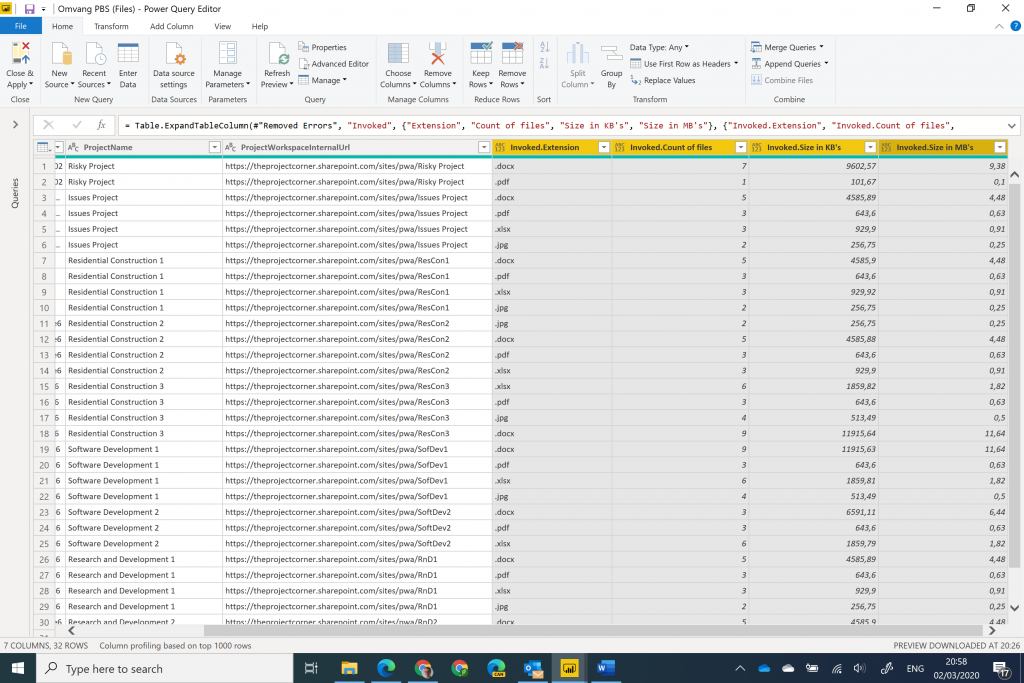
Here’s the result I got from my demo environment, it contains documents, PDF’s and Excel files. But any extention of any size will show up in this list.

As a final step you should make sure that your number columns are actually of a number format (decimal number or whole number).
Getting some nice visuals in place
After this click on close and apply and go nuts with the visuals.
I would suggest the following visualizations as a minimum:
- Cards for the raw totals.
- a table that shows actual numbers per site.
- A bar chart of any kind based on file size (and or count of files)
- Make sure to have the URL in there with data category “web URL”. This creates a nice link to be able to deep dive.

The video
You might know that I have a active YouTube channel with a new video coming out every two weeks. These video’s typically last between the 8 to 14 minutes with some exceptions (such as this one). Here’s the instructions video on how to grab all the content information from the project sites:
Create a Power BI report that shows all files in Project Online:
The file and how to use it
The file is available from my Newsletter subscription folder (sign up here). But if you don’t feel like another mail subscription it’s also available from the technet gallery. If you like the file please consider rating it with 4 stars or more. This goes a long way in helping me. Technet gallery has been removed.
Final notes
I love these combo posts, it gives me a lot of energy to share content in multiple ways and even be able to give something back to the comunity. I’ve done this previously when I created a risk matrix article and companion video.
If you liked this type of article as well, let me know in the comments or reach out on Twitter / LinkedIn. And don’t forget to sign up to the newsletter for more information from me.